After installing a new battery, I needed to update the car clock in my 1993 Plymouth. The owners manual proved to be useless:
Electronic Digital Clock – The procedure for setting the clock varies slightly with each radio. The correct procedure is in the Chrysler Sound Systems Manual.
The Sound Systems Manual was not in the glovebox. I don’t think I’ve ever owned one. amazon.com had one for sale for about $20, but for $20, I’d just buy a wristwatch.
So I decided to provide an illustrated guide, because, after several mornings of fiddling around, I finally figured out the procedure. The images below were taken during rush hour, with one hand on the radio knob, the other on the camera, and my legs on the steering wheel. That evening, I was trying to set my clock to 4:30.
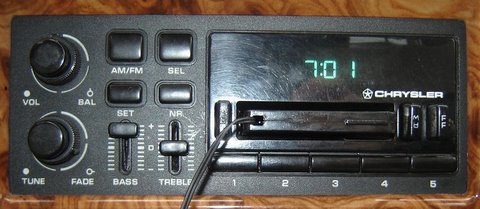
The wrong time on the Chrysler Clock. Note my cassette adapter, which effectively makes the stereo a high-tech MP3 player (via the wire hanging out the front).
Step 1: Turn the radio on. The Chrysler engineers were clever to make this a feature. I would suggest tuning into a station that plays soothing music, because you are going to need it. This is perhaps the biggest secret held in the Chrysler Sound Systems Manual.
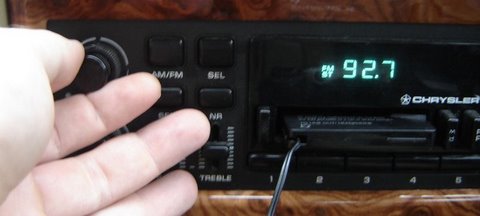
Turning the Radio on. 92.7 is a local smooth jazz station.
Step 2: Press the SET button. This enters program mode. You should see a “P”. Since the radio is on, you could choose to set one of the 5 radio presets. Pressing one of the 5 buttons will set the current station to that button, but that is not our mission.
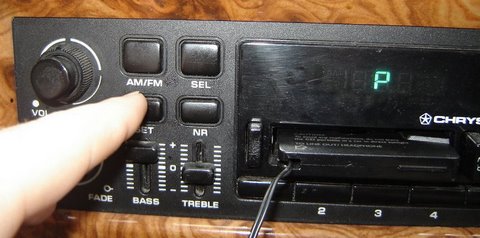
Press the SET button. You will see the “P” which means you are now ready to program this high-tech device.
Step 3: Press the SEL button. This will allow you to change the hour. If you want to change the minutes, press the SEL again. From here on out, the process seems a little less like a cruel joke, and more like a normal stereo.
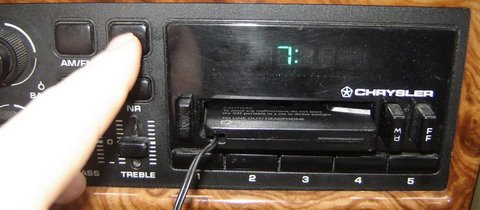
switching from hours to minutes is easy as pie with another press of the SEL button.
Step 4: Use the TUNE knob to change the time In this example, I need to turn 7 back to 4. Or forward to 4, depending on which way I turn the knob. Brilliant! If you need to change the minutes, press the SEL button again as described in Step 3, and then turn the TUNE knob.
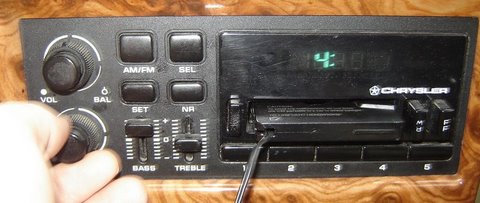
Turning the knob. The most fun part of this process.
Step 4: Press the SEL Button again to end your programming session
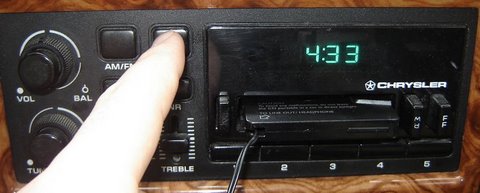
If you do not see the correct time, listen to some nice music and try again after you settle down.
Step 5: Enjoy the clock’s digital goodness.
25 responses
Do you want to comment?
Comments RSS and TrackBack Identifier URI ?
Trackbacks